The Best Lighting Set up for Portraits and Professional Headshots: Butterfly Lighting
Great lighting is key to a professional headshot. The only problem is that a lot of “professional” headshots these days are snapped on iPhones using nothing but the office’s fluorescent lights (or, if you’re lucky, the natural light from a window). These lighting setups can work in a pinch, however nothing quite beats a professional lighting set up when it comes to professional headshots and portraits. Sure, professional lighting equipment can be expensive, but it can pay dividends when your clients start to see how well their images turn out. The best part? The best lighting set up for professional headshots only requires one light, so it’s actually a fairly economic set up. It’s called butterfly lighting.
Now, the best lighting set up for professional headshots is obviously subjective, and will, of course, depend on the type of vibe / portrait you’re trying to take. I really like the butterfly lighting technique, though, because it illuminates the subjects face really well, and also creates more shadow beneath their chin, helping to create a slimming effect.
Oakville Professional Headshot Photography and Portrait Photography

Butterfly Lighting
The butterfly looking shadow beneath my nose is where this lighting technique gets it’s name!
What is Butterfly Lighting?
Butterfly lighting is a type of portrait photography lighting where the key light is placed above the subject and points down at their face, usually at around a 45 degree angle. The light is also centred directly in front of the subject, providing an even amount of lighting on both side’s of their face.
Due to the angle of the light pointing down onto the subjects face, a small shadow is produced beneath the subject’s nose. This shadow takes the shape of a butterfly, thus the name of this lighting technique!

How to Use Butterfly Lighting on Your Professional Headshots and Portraits
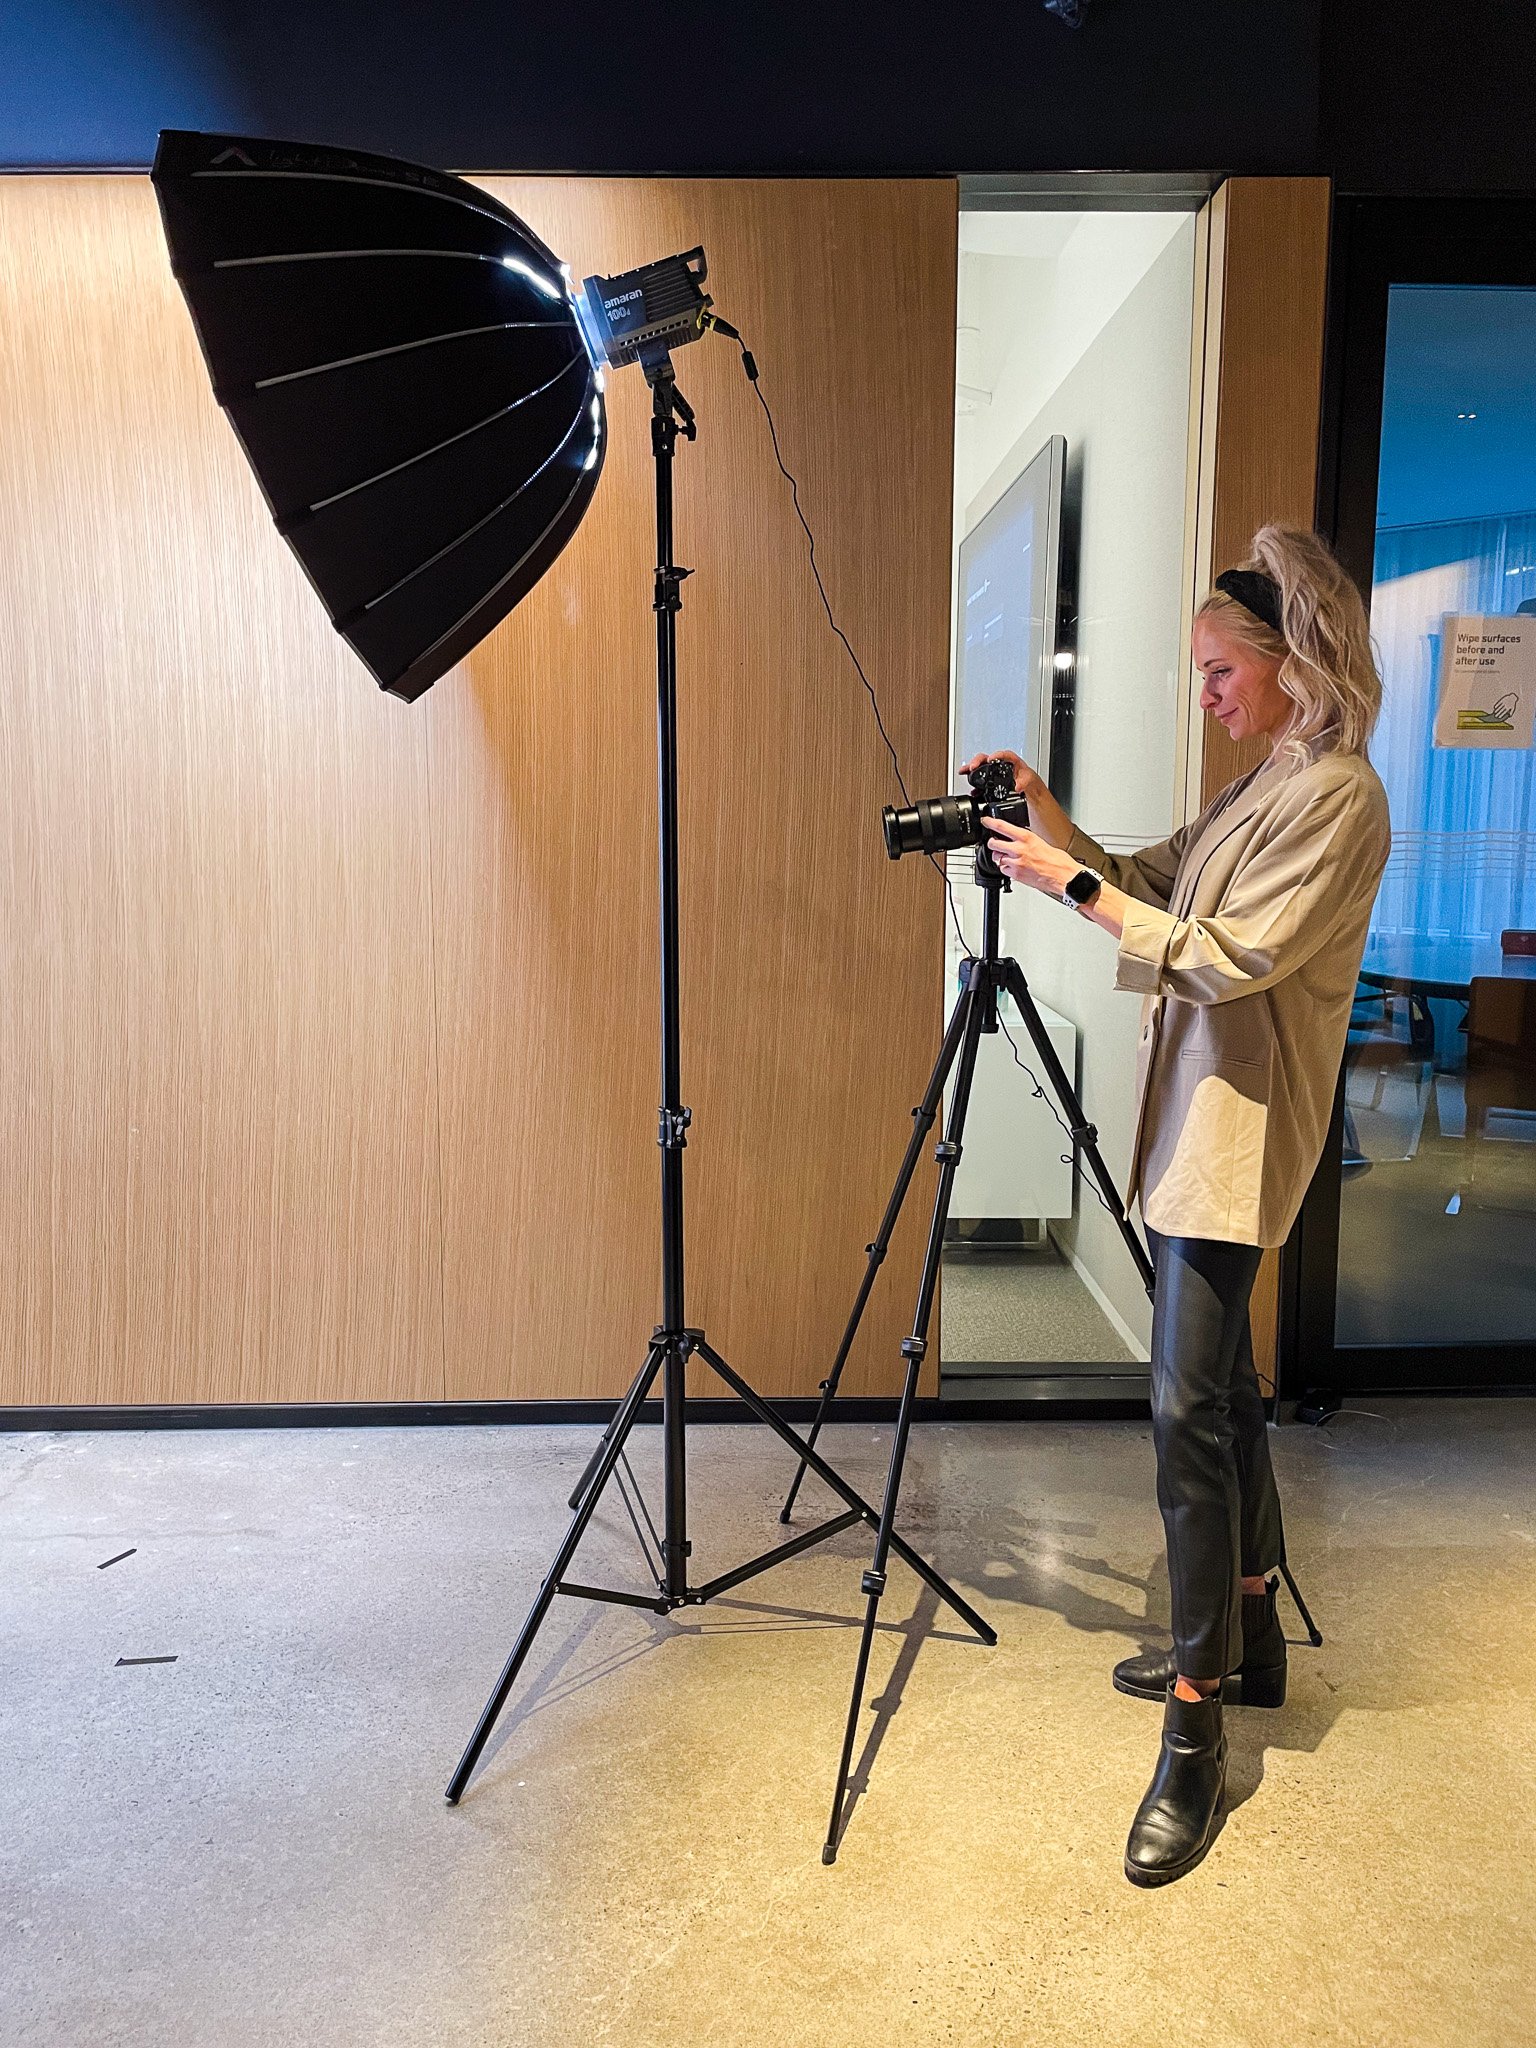
To achieve this look, all you really need is a key light and a lighting stand. The lighting stand must be tall enough to lift the light above your subject’s head. If it’s not, you could always have your subject sit down on a stool to ensure they are beneath the light. The light stand should also allow you to adjust the angle of the light itself, so that you can tilt the light on a 45 or so degree angle down towards your subject’s face.
The key light should be relatively strong, but you don’t need to get too carried away. A 60W key light should be more than enough for a portrait or professional head shot like this. You may want to add a diffuser, though, as this well help soften the light, thus softening the light and skin on your subject’s face.
Once you have your light stand, key light and diffuser set up, you may need to adjust the height and angle of your light. The higher your light, the more you will need to angle the light down, which will then create a larger butterfly shadow. The lower the light, the less you will need to angle the light down, which will then create a smaller butterfly shadow. Again, I’ve found that roughly 45 degrees works nicely for nice butterfly lighting portraits. Feel free to adjust as you go though. And keep in mind that, if you’re photographing multiple people in one session, you may need to adjust the light’s height and angle, as everyone will likely be different heights.
Lastly, make sure the light is directly in front of your subject so that the light spreads evenly across their face. Their should only be a shadow beneath their nose.
Conclusion
One of the best ways to create dynamic portraits and professional headshots is to use a professional lighting set up. The butterfly lighting set up is one of the easier lighting set ups to use, and is also, in my opinion, one of the best. All you need is a light stand, key light and diffuser, and you’re half way there. Next set the light directly in front of your subject, raise it above their head, and angle it back down towards their face at roughly a 45-degree angle. And just like that, you’ll start producing incredible looking portraits and head shots with a minimal lighting set up.