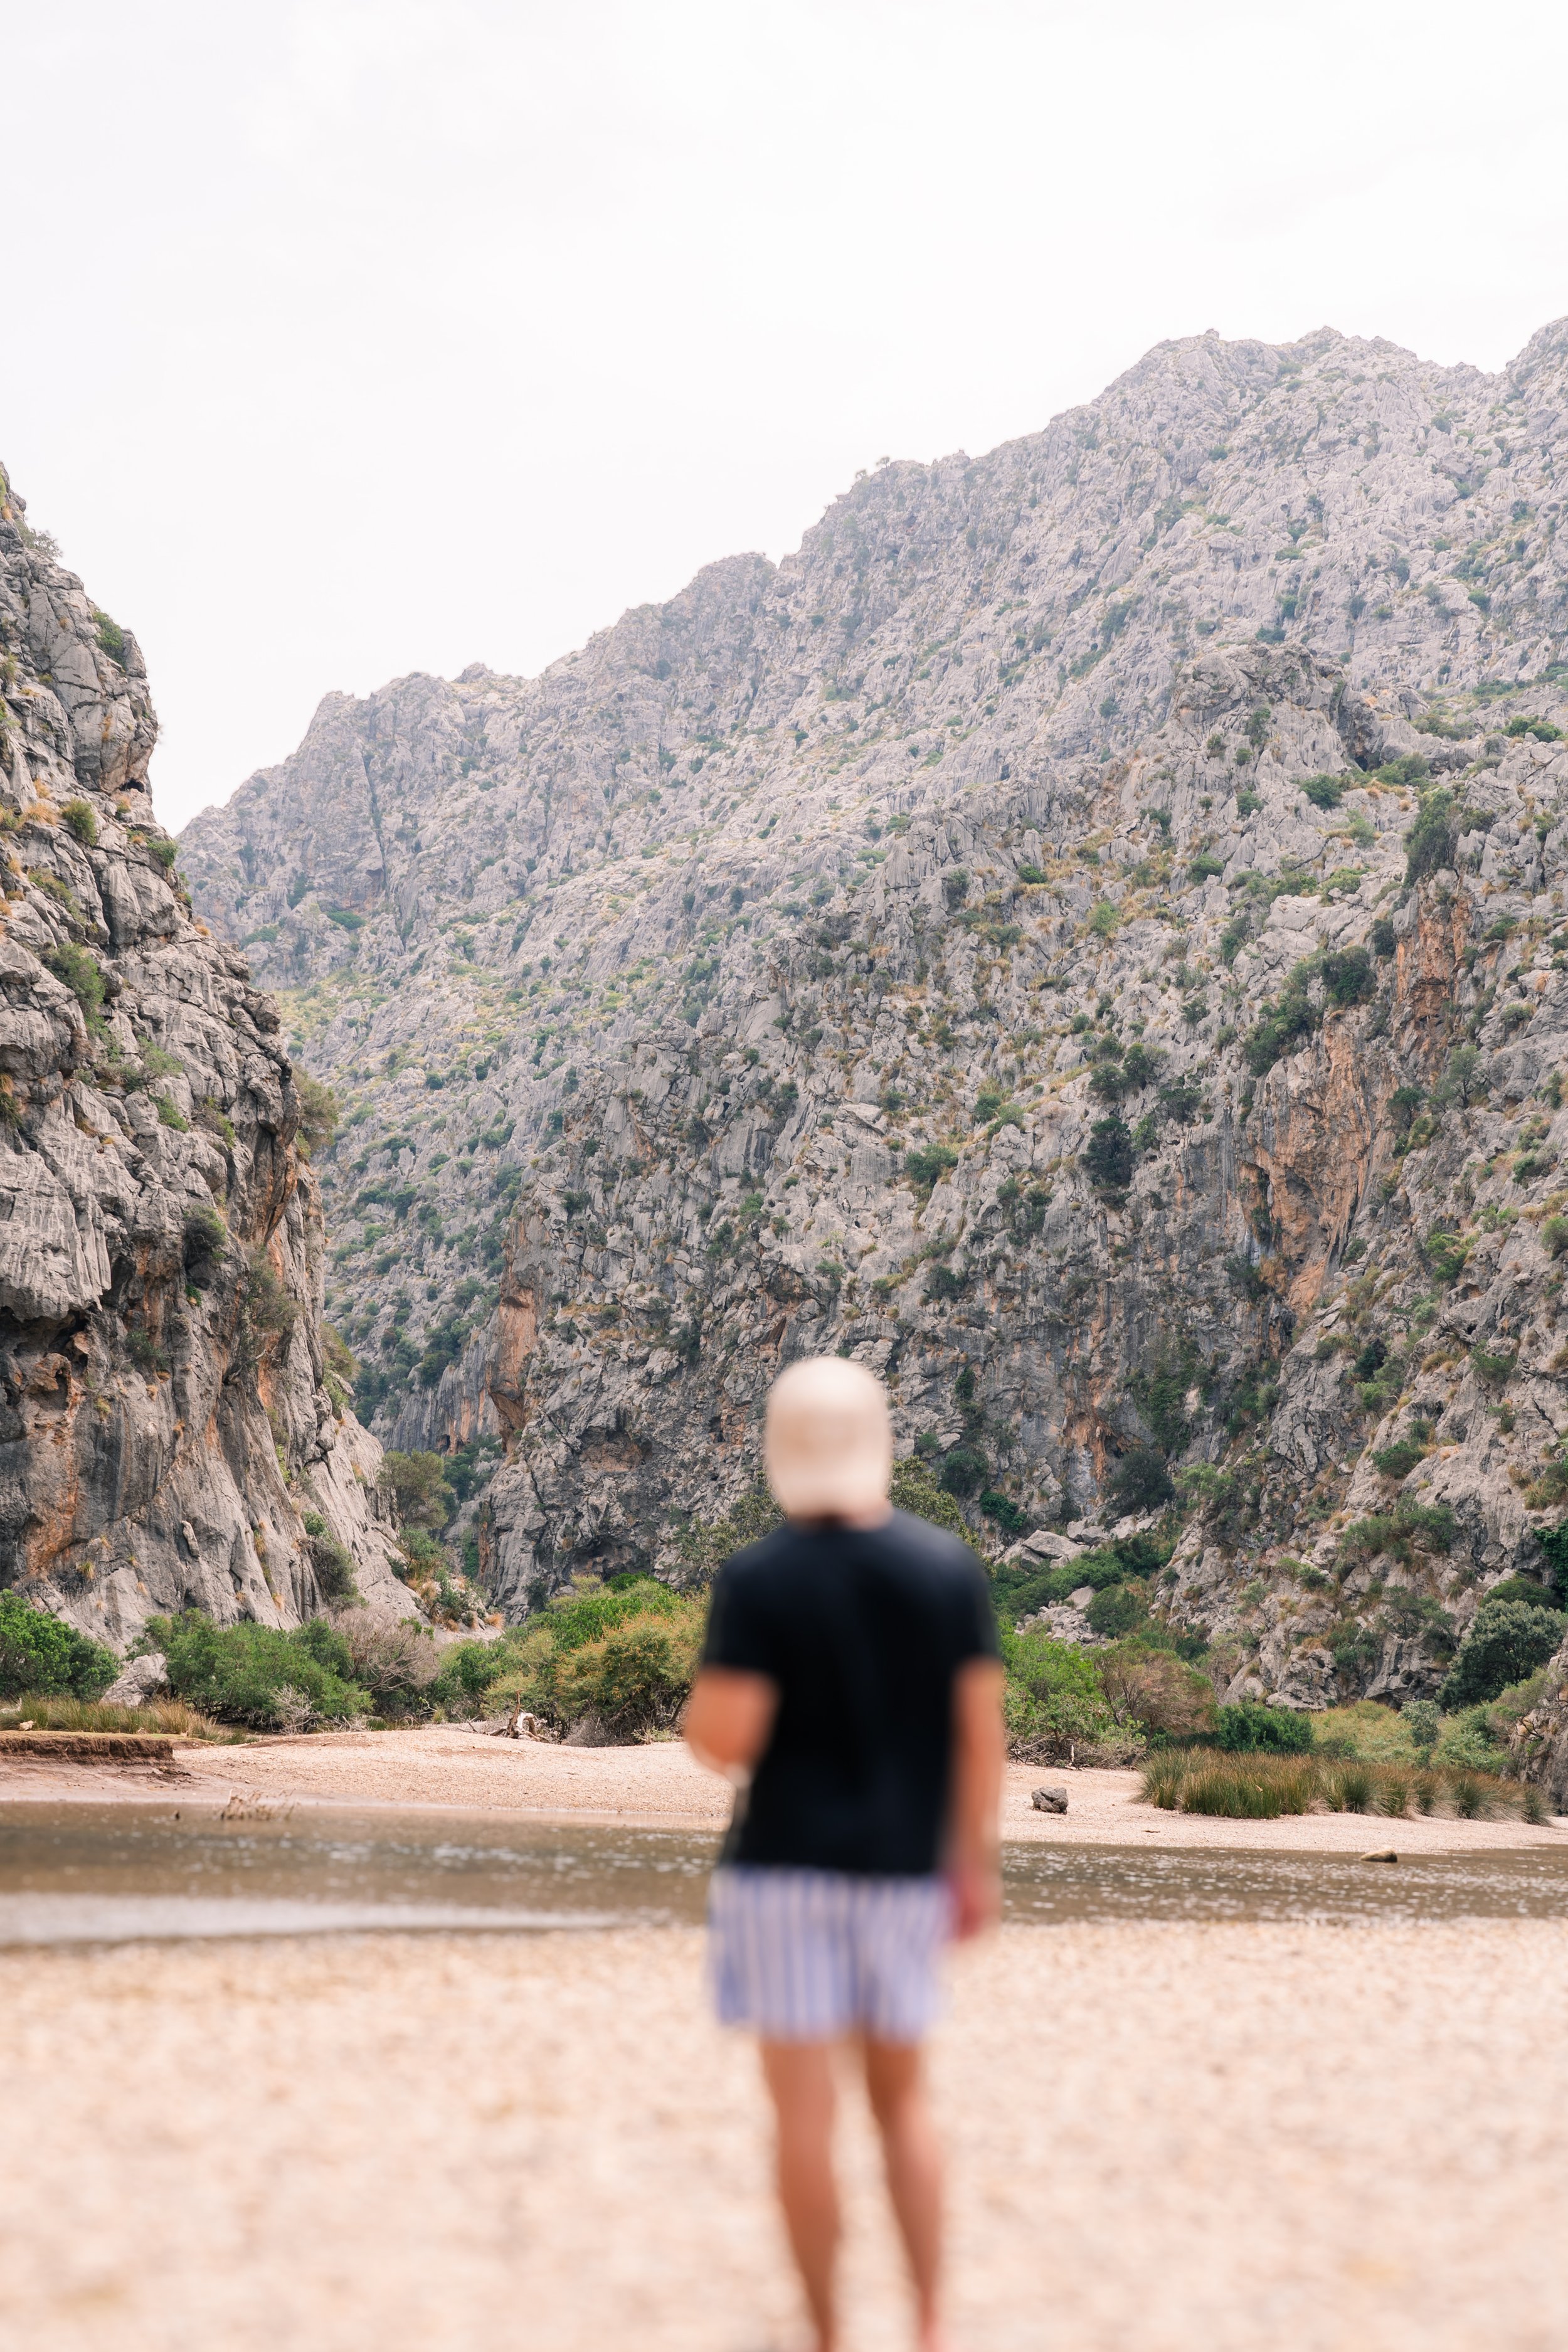
Lens Blur in Lightroom
Creating dreamy, blurry backgrounds, also known as bokeh, in our photography can not only help us make our subjects stand out more, but it can also create a cinematic effect that can transform an ok scene into something magical. Achieving a nice, blurry background, however, generally requires you to open up your lens’s aperture fairly wide - anywhere from F2.8 and lower. The problem? Lenses with a maximum aperture of F2.8 or lower are generally expensive. And I mean very expensive. So, most aspiring photographers are stuck purchasing lenses with a maximum aperture of F4. These lenses can produce a reasonable amount of bokeh, but, for some photographers, they may be left longing for that really dreamy bokeh effect that only faster apertures can provide… until now.
If you, like most photographers, use Adobe Lightroom to edit your photos, you may be surprised to find out that they recently released a new feature called Lens Blur, which essentially allows you to create dreamy background blurs on any photo, even if you shot the photo with a very narrow aperture. Lightroom uses AI to determine the subject in your photo, and then creates a realistic blur behind it, which can be adjusted as you see fit. I’ve tried Lens Blur out on a few photos, and, honestly, the results have been very good and natural looking. The feature is being called an “Early Release,” and I’ve only seen it on Lightroom mobile so far, so it may not be out for everyone yet. It has it’s own tab in the editing panel though, which is identifiable through a teardrop-looking icon.
If you do have Lens Blur in Lightroom, it’s super easy to use, and also lots of fun. Here’s a quick run through of how you can use it to create dreamy, blurry backgrounds in your photos today to help you avoid dishing out thousands of dollars in new lenses!
How to Apply Lens Blur in Lightroom
When editing a photo in Lightroom, open the Lens Blur tab.
To start the lens blur process, all you need to do is start dragging the “Blur Amount” slider to your desired blur level, and then Adobe’s AI system will automatically detect the subject and apply a lens blur.
After the lens blur has been applied, you can further refine the blur, and change the overall look and feel of the effect.
Firstly, you can change the amount of blur within the image. The more blur you add, the more your photo is going to look like it was shot with a super wide aperture. The less blur you add, the more it’ll look like it was shot with a narrow aperture.
Secondly, you can adjust the overall look of the bokeh you’ve created to really give it a true to life feel. Adobe gives you five bokeh looks to choose from: circle, bubble, 5-blade, ring and cat’s eye. Each of these options creates a different bokeh effect that is reminiscent of different types of modern and vintage lenses.
Once you’ve adjusted your blur selection, you can then choose whether or not you want to “Boost” the brightness in the out of focus area. The higher you boost the out of focus area, the brighter it will become.
Lastly, you can use the “Focal Range” section to change what subject you’d like in focus. As I stated earlier, Lightroom’s AI will automatically attempt to focus on the main subject in your image. This is identified in Lightroom as “Subject Focus.” If you want to create a more artistic effect where your subject is actually out of focus, however, there is also an option called “Point or Area Focus,” which allows you to manually select what’s in focus by clicking or dragging on the photo.
And that’s it! In just a few steps, you’ll have created realistic looking bokeh in your image.
Conclusion
For many photographers, the idea of creating images with dreamy, blurry backgrounds has always been a goal, but purchasing expensive lenses with wide maximum apertures is just, in some cases, not possible. Adobe Lightroom’s new Lens Blur tool aims to bring that dreamy bokeh effect to the masses - without the need for purchasing any new lenses. The new Lens Blur tool uses Lightroom’s AI system, and actually produces very realistic bokeh. Once the effect has been applied, you can start to refine the overall look of the blur, and even decide what elements you’d like in focus or out of focus in your shots, allowing you to create truly unique, dreamy images in post production. This feature is an early release, so, if you don’t have it already, keep checking your Lightroom to see if it’s been added, and then start creating some magical, blurry shots!
