Best Export Settings in Lightroom for Instagram
So you’ve snapped an epic photo while using your brand new camera sling, given it a pro edit in Adobe Lightroom, exported it, uploaded it to your Instagram account expecting that this will be the photo that goes viral … and then you realize that it’s blurry / pixelated on Instagram. Sound familiar? It’s a dreadful feeling that most photographers have experienced on Instagram whether they use Lightroom or not. It’s especially painful if you’re running a photography business and need to showcase high quality versions of your your work! But, with Lightroom being the premiere photo editing / management platform on the market, how can our exports possibly be low quality? Well, it’s really just a matter of using the best export settings in Lightroom for Instagram. And it’s a lot simpler than you think.
In this article, I’ll breakdown my exact process for exporting photos from Lightroom for Instagram to ensure that all of my uploads are sharp. I’ll also provide a few troubleshooting tips if you’re still getting low quality Instagram uploads after using this Lightroom export method.
My Lightroom Export Process for Instagram
Whenever I export a photo from Lightroom to use on Instagram, I try and export a fairly high resolution and large image. You may think that a smaller image file will work just fine for Instagram because the uploaded photos appear on a small screen, however Instagram compresses images when you upload them, so I try and give every photo its best shot (pun intended) at preserving as much of its original quality through the Instagram upload process.
Now, I’m not saying you need to export photos from Lightroom as if you are using them to print a billboard, but the image file and resolution should be quite large to account for the compressing Instagram does. Luckily, there is actually a pretty simple export preset in Lightroom that makes this quick and easy.
What I do is select the photo(s) I want to export from Lightroom for Instagram, click on the export button in the top righthand corner of the screen (it looks like a box with an upward arrow in it), and then simply select JPG (Large). Then all you need to do is select a destination folder for your image(s) and hit export.

The JPG file format is perfect and acceptable for Instagram (which is important if you shoot in RAW, because you can’t upload RAW images to Instagram). This preset also provides the image in its original size, which, assuming you shot on a mirrorless camera, will be quite large. It also preserves 100% of the quality, so you know you’re using the highest JPG photo quality possible for your image before Instagram starts compressing it.
As a side note, if you press file and then export, a side panel will popup with extra export settings. These are important for client work or other end uses of your photo (I can go over these in another article). For the purposes of high quality Instagram photos, this export panel isn’t necessary. The best export settings in Lightroom for Instagram is the JPG (Large) export preset. It’s simple and easy to use when you need to export one or multiple photos for Instagram, and you’re photos should look sharp when you upload them.
How to Get the Exported Photos to your Phone - For Apple Users
I have a Macbook and an iPhone, so I only know how to transfer the exported photos from my computer to my iPhone (sorry Android users!!!).
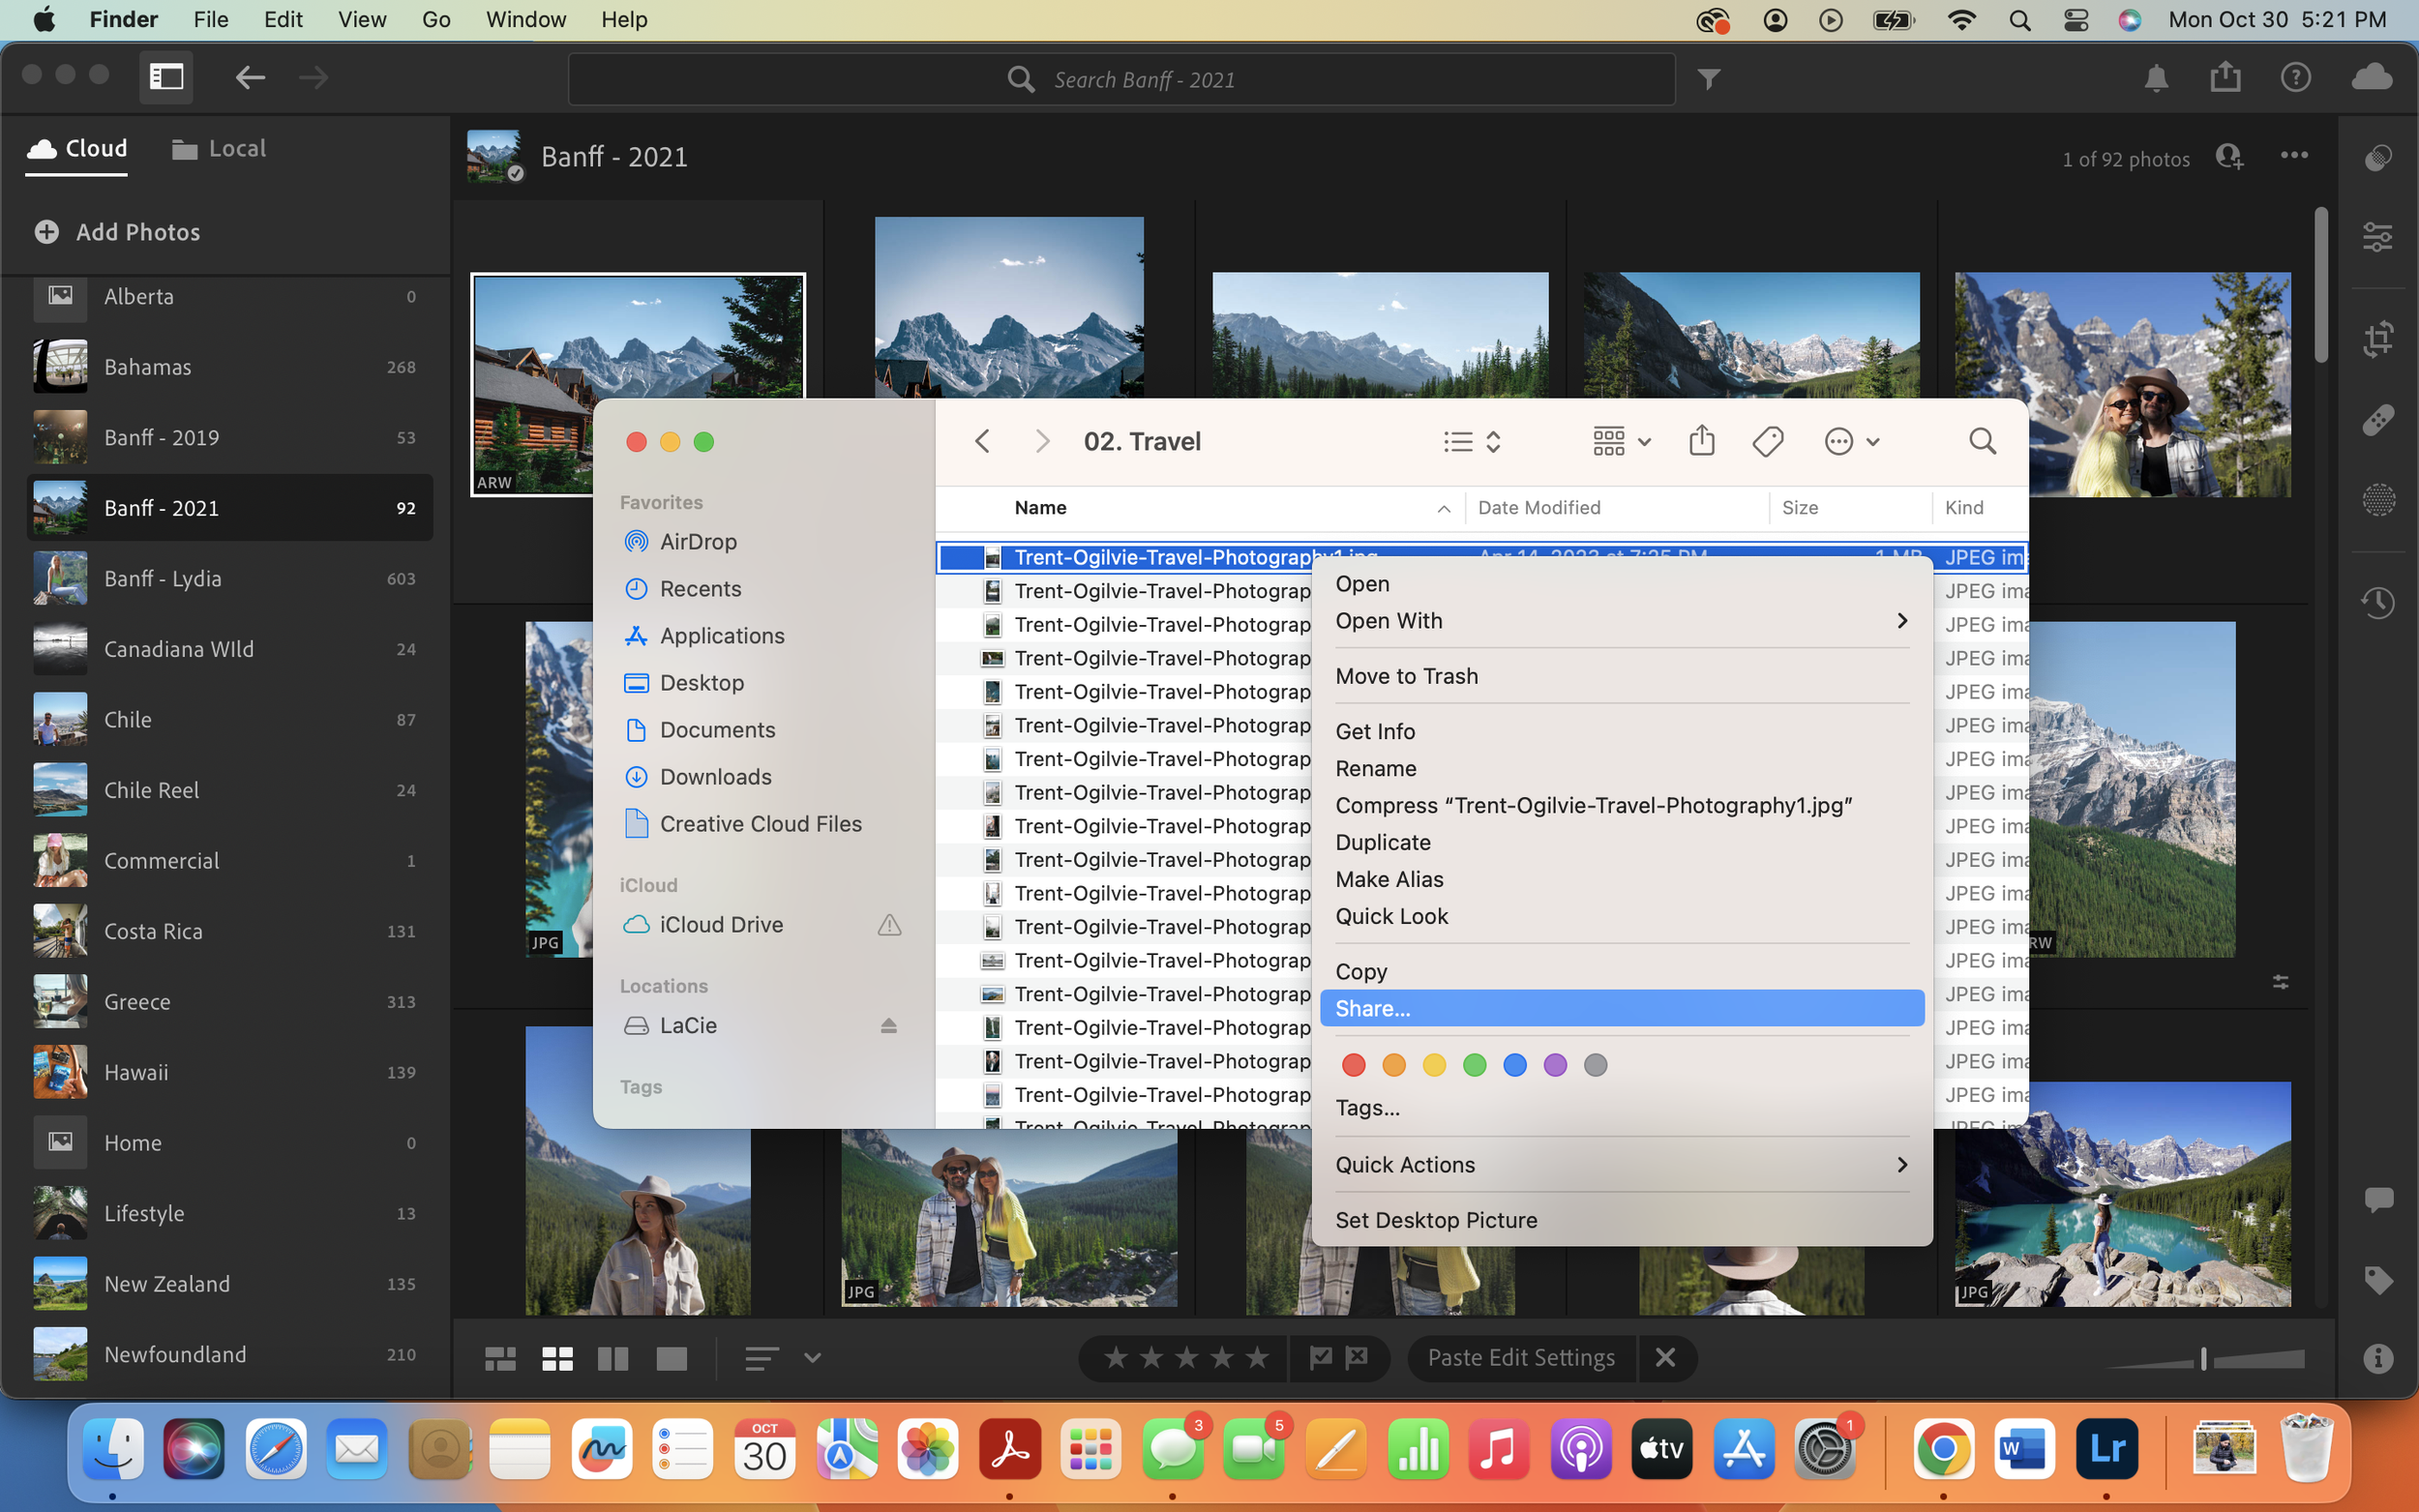
To do this, all you need to do is find the exported photos in the appropriate folder on your computer, right click on them and select Share… and then AirDrop. Once the AirDrop window opens, make sure you unlock your phone screen. Once your screen is unlocked, you’ll see your iPhone appear on the AirDrop window on your phone. Click on your iPhone in the AirDrop window. Your phone may send you a notification asking if you want to accept the AirDrop. Confirm, and then your high quality exported images will appear in your Photos album. Now you’re almost ready to upload to Instagram.
How to Upload High Quality Images to Instagram
Before uploading your photo(s), go to your profile, select the hamburger menu in the top right (it looks like three lines stacked), and then tap on Settings and Privacy. From there, go to Media Quality and ensure “Upload at highest quality” is switched on. This doesn’t mean your photo will be uploaded at 100% quality like the image you exported from Lightroom. It will, however, compress your uploaded photo less than before.
Now, all you need to do is upload your photo(s) the way you usually do, and you’re good to go.
One thing you should keep in mind is your internet and cell phone signals. If your internet connection is slow, the photo can upload in low res. If this is the case, you may want to turn your WiFi off on your phone and upload on data. If your cell signal is low, you may want to wait to upload until you find better service or a strong internet connection. Basically, you need a good connection to upload a high quality photo.

So, the best export settings in Lightroom for Instagram are the preset JPG (Large), as it provides a high quality photo in a format friendly for Instagram. From there, make sure you have the “Upload at high quality” setting turned on in Instagram, and then upload your photo(s) when you have good signal on your phone. If you do all that, your Instagram grid will be looking sharp in no time.